Restoration of 1942 Vibroplex Bug, Part 4
You can read previous parts:
Restoration of 1942 Vibroplex Bug, Part 1
Restoration of 1942 Vibroplex Bug, Part 2
Restoration of 1942 Vibroplex Bug, Part 3
Show Me The Result!
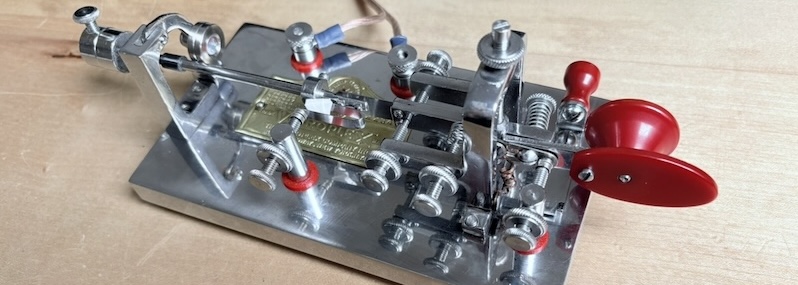
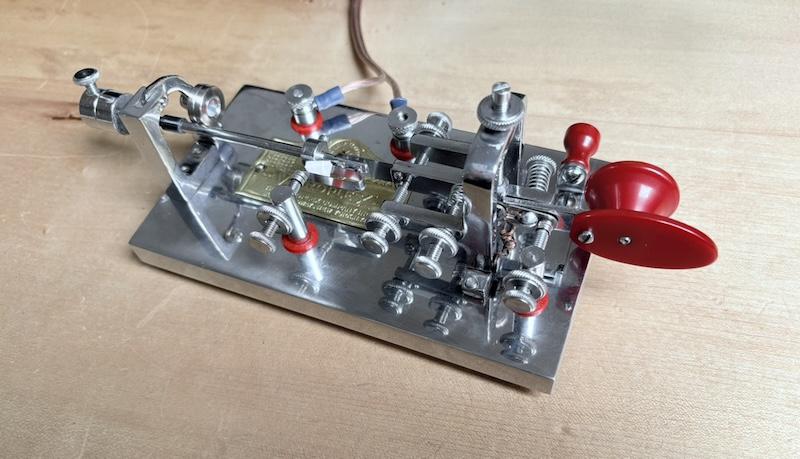
I thought you will never ask! Here is how my bug looks now.
What Now?
Now, after fixing all the things, I was ready to start using it. I watched some videos on how to operate this thing and how to adjust it. I guess we will all need a lot of patience - both myself on learning how to use it and also on the others that will hopefully make a QSO with me, because of my sloppy keying.
First Tests
At first I tried to adjust the bug just naturally, by fiddling with some of the screws and hoping for the best. The result was unsatisfactory due to two reasons. One is that I cannot use it properly yet and the second thing - the dits coming out from the bug were what internet call “scratchy”. So I was searching the web once again for some advice and I have come across the SEMI-AUTOMATIC KEY ADJUSTMENT Guide by Brian Murphy, VE2AGO, that I used as a baseline for initial setting of my bug.
The dits gor better, but still not as good as it imho should be. So I googled some more and read some discussions, where they suggested of using a small piece of foam in the dit contact spring, so it is preloaded a little bit. I have inserted the foam piece and it improved the operation very much!
I alos found out, that even the slowest setting means that the dits are too fast, so I got this 3D printed extension, that slows the bug down to about 20WPM, which is manageable speed for me.
Conclusion
This was a really fun project for me. Quite demanding, but the result is worth it. For last few months, I don’t use any other key when I am on air from my home shack, because I just love the hipster feeling and the key operation. I am still learning to operate it “properly”, but I am getting there!